When my husband and I first moved into our house, almost two decades ago, we had some work to do.
Flooring had to be laid in – the original carpet and padding had been removed and we bought it with just the exposed concrete subfloor. The chipped and cracked kitchen floor had to be jack hammered away. We painted and cleaned and installed new lighting fixtures. We spent nearly all that first year fixing it up.
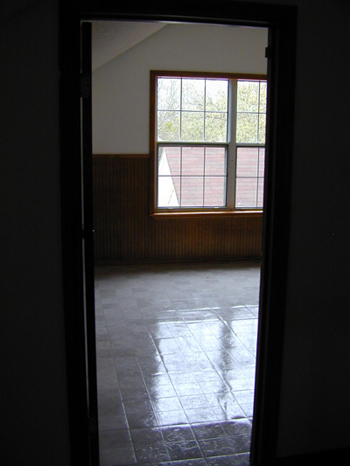
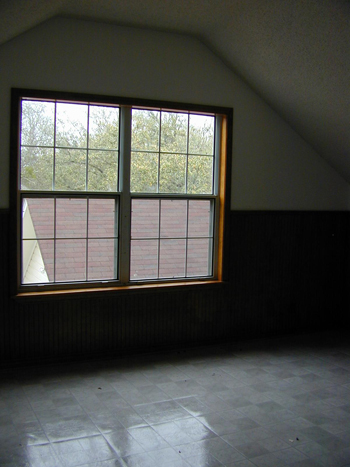
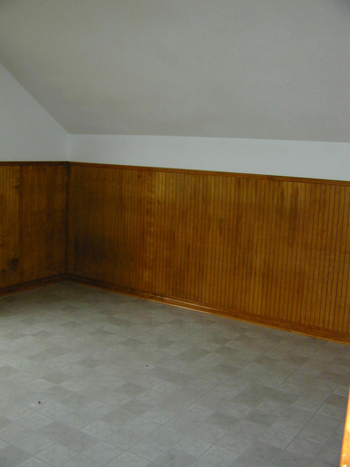
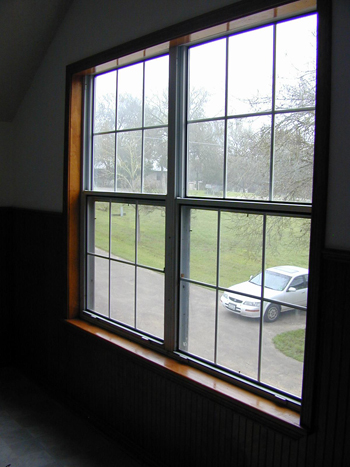
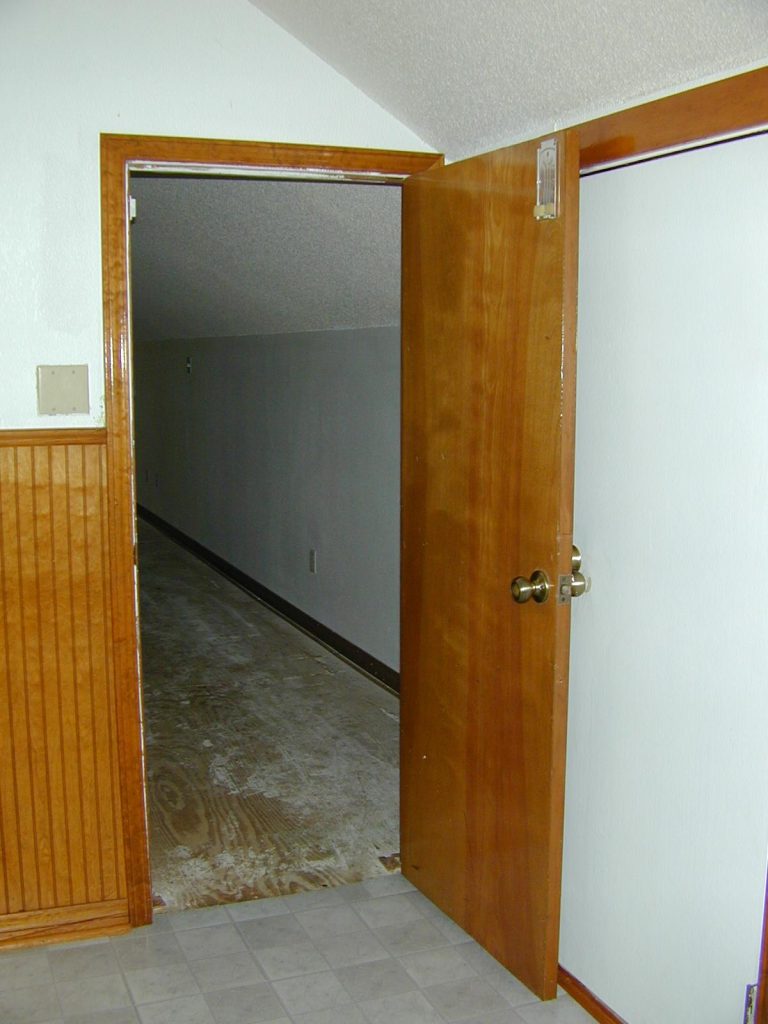
At a glance, we knew the upstairs bedroom would be a challenge. We just didn’t realize how much of a challenge it’d be. Vinyl flooring and an institutional ceiling light made the room downright dreary at night. There was a space that had been carved out of one wall, bumped into the crawl space and hastily drywalled to make a closet with no door. The fact the that the room’s main door locked from the outside – and that there had been an alarm installed on it – was, well, disturbing. We eventually learned that the previous owners had a child who had self-harmed, and that these were safety measures. Still. It had a vibe, and not a good one.
We wanted to use it as an office for the both of us, but there was not a single electrical outlet anywhere in the room. We figured we could just pull down and toss all the panelling, check all the electrical boxes and then patch up the drywall. Some paint and new outlet plates and we’d be set!
Renovation of the rest of the house went smoothly in that first year: new floors, new paint, new trim, no problem. But we soon discovered that behind all that panelling in that upstairs room was half-inch plywood. The original drywall had been removed, the original electrical boxes sanded back so the plywood could go over it all, and the panelling installed over all of that. Each plywood board was put in place with what appeared to be every single nail in the world.
Oh my god, it was hell pulling that all down.
In fact, it was such a daunting project to turn the room into an office that could accommodate several computers and printers, that we kept putting it off. And putting it off. And putting it off! We put it off long past when I’d returned to college to finish my bachelor’s degree, long past when I’d started my master’s degree, and long past when I’d started telecommuting from home on a regular basis. The room went through several different designs on paper, and in our heads, but little progress in reality.
Until recently.
I’d emptied it out (it had turned into a storage room/attic space over the years) and had begun the long, exceedingly painful process of ripping down the panelling and struggling the plywood off the studs. That alone took more than a year, partly because I didn’t have a lot of free time to work on it and partly because, by the time I’d struggled one or two panels off, I was so angry I’d stomp downstairs to Netflix and chill. I don’t think I ever had the presence of mine to take a picture of the process either.
Eventually, though, I got it done and the room stood ready for my husband to fix the (and eventually just then rip out and install new) electrical boxes. But by the time the electrical was half installed, the purpose of the room had drastically changed.
I’d discovered spinning and weaving in the intervening years and was rapidly running out of room for the equipment, not to mention comfortable spaces to work. Suddenly (and this is a whole other blog post) I was the owner of both a TOIKA Liisa countermarch loom and, just 10 months later, a Glimakra Standard single-unit drawloom. The latter would need an entire bedroom to herself.
We got right to work.